Showing posts with label quilting. Show all posts

Friday, 28 March 2014

Recent projects

I've been meaning to post about my recent projects for some time, but it's the "finding the time" part that remains difficult.  I've been busy sewing these past couple of months, but I've been posting more frequent pictures on my instagram  or flickr than I have been here-- so follow me if you want more frequent updates!

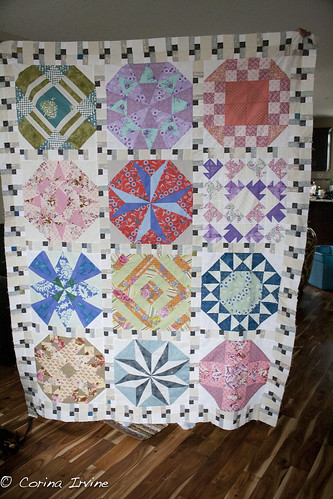
So to start, I've finally finished the quilt top for a block-of-the-month project from a year ago. I wasn't sure how to finish it because I only made the main blocks and not the companions, but I'm happy with how it turned out.

quilt top
Block of the month quilt top

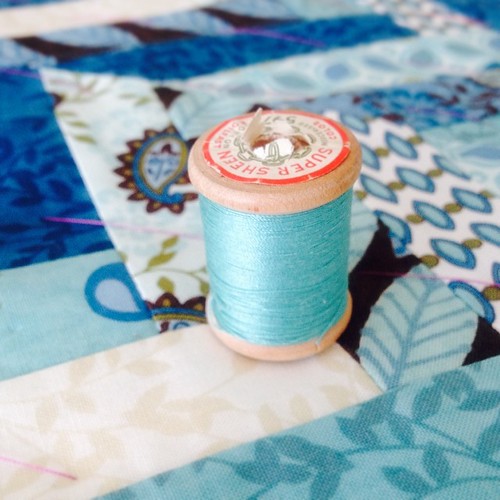
I whipped up a hot pad for a friend in Australia, based on this pattern from the Moda Bake shop (link). I used Family Tree charm pack, and used only the blues/teals. I even busted out the vintage thread I had to make it extra-special.

I'll be using some vintage thread for this one! #quilting #vintage #thread #modabakeshop #moda #charmpack #teal
Vintage thread


hot pad

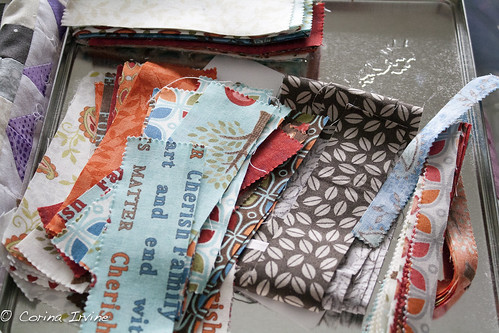
I have a lot of leftovers (see below), still deciding if I want to make a few more of these or maybe make a couple more or maybe a table runner?


extra fabric
Family Tree by Deb Strain for Moda


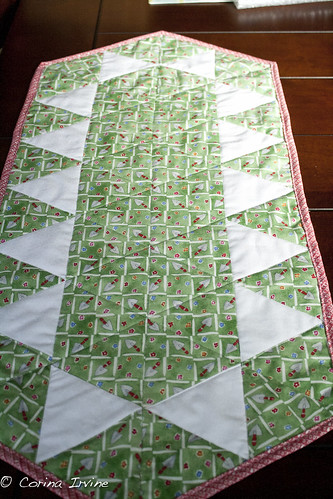
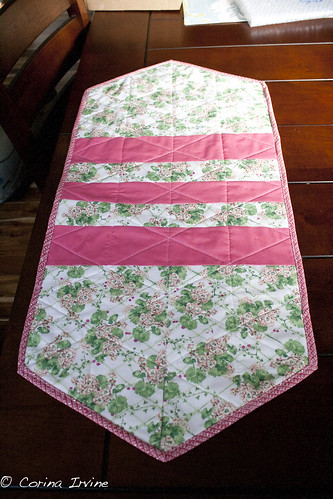
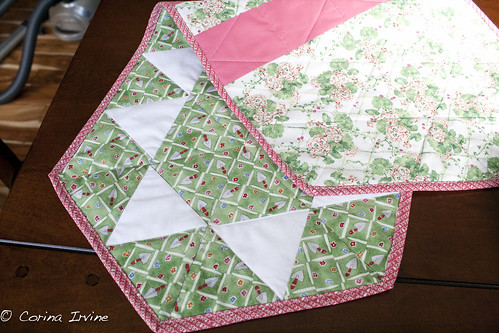
Speaking of table runners, I also finished up a garden-themed table runner for my mom last week, because she loves to garden and when I saw this fabric I thought of her. I'm wishing for spring to get here (it's currently -7C and snowy outside).

garden table runner


garden table runner back

garden table runner


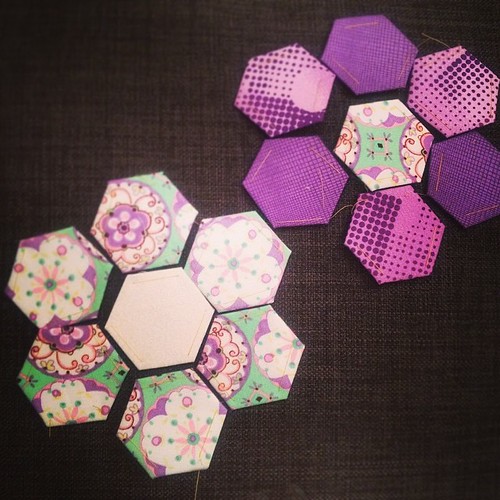
 I purchased some paper hexagons a couple months ago and I'm finally using them!

Just sewing some hexagons! #englishpaperpiecing #sewing #hexies #quilting

Finally, a little knitting show and tell...

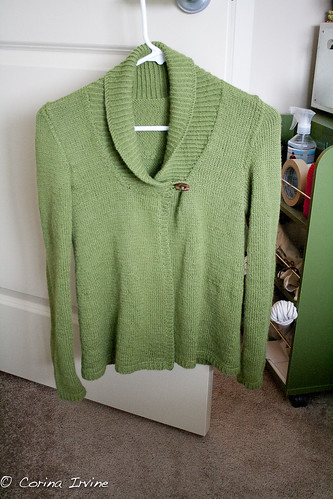
My Larch Cardigan- this was one of the oldest WIP's I had laying around and I'm so happy it's finally complete. The color is okay, people say it's nice, but I'm just not thrilled with it. However, it is very comfy and I'll just overdye it if the color doesn't grow on me.

larch cardigan

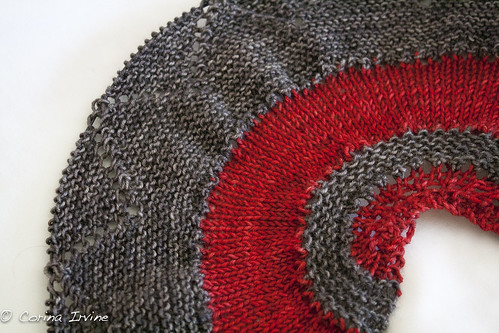
I'm finally almost done my knit-a-long from Ysolda.  I don't have a new photo (yet) but here's an old one showing off my color choices.
mystery knit-a-long

Thanks for reading!

Saturday, 22 June 2013

Not much to do... but craft

Hi,

There's been massive flooding in my hometown over the past couple of days, and subsequently everything near the river was evacuated. In a city of 1 million people, approx 75,000 were evacuated from their homes, the Downtown was evacuated (approx 300,000 people work there), and people are in a frenzy to stockpile supplies. If you'd like to read about it here's a good news link.

We were asked to stay home and stay off the roads, so I did I've been crafting away and finally took some pictures to share.

I organized some yarn into jars...

other jars


I finished a baby quilt, here's a preview of it because I haven't given it as a gift yet!

Closeup


I also made another tag with some leftover binding and fabric from the quilt... Next time I'll be sure to iron the fabric at every step of the way, I noticed that the end result is a little wrinkly, even after ironing.

fabric tag

fabric tag

fabric tag complete
my sad attempt at free-motion quilting...


Finished a couple of baby hats

baby newsboy hat
Baby Newsboy, made with leftover Patons Wool

baby hat
Newborn baby hat, made with Mandarin Petit (Sandnes)


What's next? I'm about to work on a block-of-the-month that I haven't quite finished... I'll try to work on my birthday quilt (this project has been going on for 2 (or 3?) years and it's time to finish it... and I honestly have 10 or 15 other projects to keep me busy. Stay tuned, if I'm not working I'll probably be blogging!


curent projects
Need to finish the top block

new (old) project
Birthday quilt, slowly coming together.
Thanks for reading!
~knittypie

Sunday, 19 May 2013

Fabric Tag Tutorial

Hi! So I said I would post about how I made this lovely tag... so here's a tutorial!

Fabric tag!


What you need:

  • Scrap fabric with batting, at least 3''x5'' in length. If you have a bigger piece, don't cut it smaller, we will quilt the 1 piece of fabric & batting and a larger size is less fiddly to do this on
  • Piece of fabric in a lighter color that will be the 'message' side.
  • Scissors, pencil for marking, pins.
  • Button-hole making skills.

I would say that you need some basic sewing skills- quilting, top stitching, and making a button hole. In reality, you're making a tag and it doesn't need to be perfect. I'm a beginner quilter and I managed to make a half-decent one!

Tag Tutorial

1. Quilt your scrap fabric- I had this laying around from the end of my baby quilt. I quilted the 1 piece of fabric and batting together using diagonal lines, but you could try free-motion quilting if you're feeling adventurous.

The piece I used was approx 7''x 6'' but it doesn't matter because you'll trim it down after this step.

Scraps of fabric & batting from my quilt

I quilted the top in diagonal lines...

...or try free-motion quilting and follow along with the fabric pattern!

2. Trim your quilted piece to 3''x 5''. Cut your lighter fabric to have the same dimensions.

Neutral fabric on the left, quilted fabric on the right.

3. Now take a pencil and mark two diagonal lines so we can get the diagonal shape at the top of the tag. My picture shows that I used my 45 degree lines on my cutting mat and I used those to make the tag top symmetric. Do not cut these lines yet.

I drew on two diagonal lines to make the top of the tag.

4. Place the two pieces of fabric right-sides together, pin. We are leaving the bottom open so the tag can be turned inside out after. Starting in the bottom corner, use a 1/8'' seam and sew up and around to the other side, leaving the bottom open. I pretended the diagonal lines I drew at the top were the edges, so I sewed inside of it. It's not a big deal if you sew on top of the lines, we're cutting the excess off anyways.

Leave the bottom of the tag open. Use ~1/8 inch seam and sew to the other bottom corner, leaving the bottom open (so it can be turned inside out after).

5. Now cut the corners off the ends off the tag. Now is a good time to assess if this looks symmetrical. If not, just run a couple of stitches on one of the sides to even it up. 

This is what your tag should look like. See the bottom is open. Sorry I didn't think what color of thread I was using on this step!

6. Turn the tag right-side out. Fold the fabric in on the bottom, pin and steam.

Fold up the bottom edges so the raw ends are inside the tag. I turned it in approx 1/4''.

Front view, before sewing. It's looking like a tag now.

7. Close up the bottom edge with ~1/8'' top stitch, and continue around the entire tag. This was a little tricky to do, but just use a consistent distance around the entire tag, pivotting at the corners & continuing to the end. Backstitch to secure. 

See my tag, this is the bottom corner.


 8. Create a button hole at the top, so a ribbon can feed through. Make sure you line up the centre of the buttonhole to the centre of the tag!

I have an automatic buttonhole feature on my machine. I simply put the foot on, choose my width of buttonhole, and push the pedal. It creates the buttonhole in 1 continuous process and I watch in amazement :)

I played around with some parameters and decided '10' works for me... your machine will be different so I would suggest practicing on a scrap piece of fabric to see how you want your button hole.


My buttonhole foot.
Husqvarna Sapphire 835 buttonhole parameters

I tested two sizes, 16 and 10. I prefer 10. I then marked on my tag where I needed the needle to start to create the buttonhole.

9. You're done! Write a message, I used a regular ball-point pen because I can't imagine anyone would actually wash this tag. Whatever pen you use, TEST IT on a scrap piece of fabric before you write on your tag so you can make sure the ink doesn't bleed!!

Finished result. Tie a ribbon through this and write a message!

Tag from the baby quilt that I made last week... blogged here
Thanks for reading! If you have any questions just leave a comment below and I will do my best to clarify things. 
~knittypie


Tuesday, 14 May 2013

Quilt for a friend...


Last time I posted about buying some cute girly fabric ...


Sometimes I'll just keep bundles of fabric and debate for weeks (or months) what to do with it. This bundle, however, was purchased with a particular project in mind. One of my best friends told me she was having a girl! I bought this fabric with her and her little one in mind. I also fell in love with this zig zag quilt so I knew I had to give the free pattern a try!

I cut out 4''x4'' triangles in order to maximize my fat quarter fabric amounts. I love the tip about how to create perfect paired triangles, it's much easier than cutting the triangles out & trying to sew on the bias. I laid them all out and sewed the strips together. Here's the finished product, I think it looks great!


Front side, after washing so it's a little wrinkled.


Back side, I love this fabric and how it looks with the dark pink binding...
Can't forget the tags! Brown one is from RememberWynn on Etsy. The white one is one I made with some scraps!

It was my first time sewing binding on by machine. I found a great tutorial here for a machine binding tutorial. If you look closely in the corner on the picture below, you can see where I was a little wobbly. I'm sure practice would make it look a lot better, but what baby would care about a couple of wiggly stitches anyways?
Machine binding... It's not quite straight but it saved me SO MUCH TIME!


Overall, I learned some new techniques on this quilt and I'm very happy it was completed in time!

What's next you ask? Here's a sneak-peek...a mini-tutorial on the cute tags I've been making with the leftovers from the quilt!

Do you love this? I'll share a mini-tutorial once I get some more photos!


Thanks for reading! If you like the tutorials that I link to you should follow me on Pinterest, it's where I find a lot of inspiration!
~knittypie